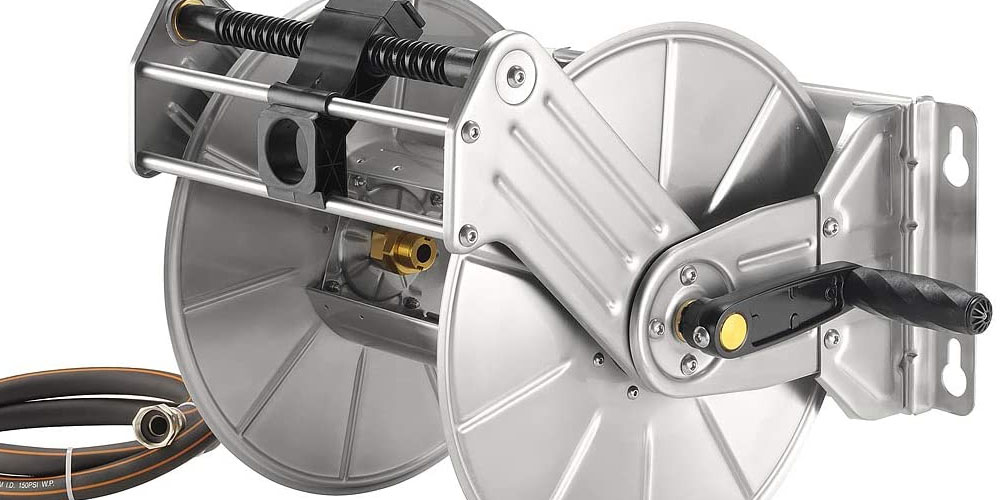
A high-quality garden hose is not cheap. Having them coiled up neatly in a reel prevents any damages like kinking, cracking, or abrasions. It’s a way to protect your investment until you have enough reasons to get a new one. Various hose reels exist based on where they are fixed, like the ground or wall-mounted reel or based on materials used such as wooden or a stainless steel hose reel. In this extract, we outline the steps to follow when fixing a garden hose onto a reel.
Steps to Follow When Fixing a Hose onto a Reel
A good garden hose serves you for a long time, but it has to be replaced over time due to wear and tear. When you notice leakage, fixing is an option, but it’s better to do away with it and get a new one.
Step 1
If there was a previous hose, move the reel to an open area or parking to straighten the hose and drain water out. It is important to move away from things to prevent the water from causing any destruction. Disconnect the hose by hand or pliers and be ready to fix the new one.
Step 2
The hose has to be installed before its placed on the garden reel. Straighten it out to get rid of bends. Ideally, it would be best if you didn’t leave a hose in the sun, but exposing a new one once helps soften it and easy to work with.
On the female end of the hose, insert rubber washer of the hose coupling to give a watertight seal against coupling on the hose reel’s drum. Most reels have a guide opening in which you insert the female end. Finally, thread this end to the water coupling on the drum of the garden hose reel. Tighten to keep it firm but be careful not to break the thread.
Step 3
After installation is done, start winding the hose onto the hose reel drum. If you are using an electric garden reel, the winding is much easier, Push the retraction button, and the hose is wounded slowly and perfectly. With a manual reel, rotate the reel handle in a clockwise direction as you feed the hose back and forth with the other hand. Take your time doing this to achieve even coils.
Step 4
Keenly check the feeder hose connecting the garden hose reel to the faucet spigot. Ensure it’s in good condition with no kinks, knots, or cracks. This prevents the development of leaks over time.
Step 5
Ensure the feeder hose has vinyl or rubber washers if it uses the female couplings. Fix them if they are missing and if they are present, inspect if they are in good condition and shape for use during the process.
Step 6
Tightly clamped down the feeder hose to the garden hose reel drum using a hose clamp. This is possible only if the feeder hose is attached to the reel drum.
Final words
A garden hose has several benefits, making it an essential piece of your gardening equipment. Using a hose reel to protect it against damage and prolong its life span is necessary. Basic knowledge and tips on how to attach the hose are important. By using simple tools, you can accomplish this without using an expert.


